 ), while not as good as Yoichi's, is still a solid secondary bow.
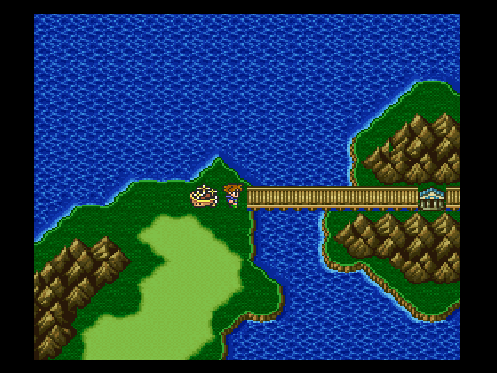
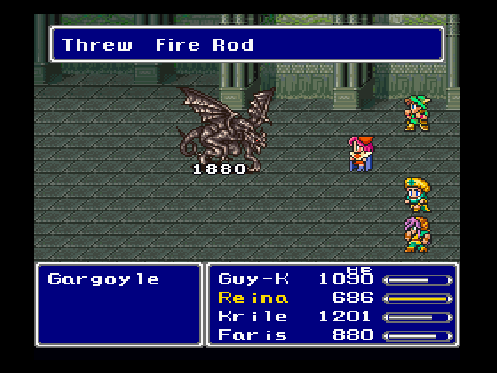
X-Death unleashes a few more of his minions onto the world. I set my sights toward the Island Shrine, located in the middle of the Big Bridge. As I enter, another pair of Gargoyles attack. It's easier this time now that I have a full party. Granted, I don't have to kill both at exactly the same time, but I still have to be quick or the other one will revive. They also have a spiteful tactic where one of them uses Pep Up to sacrifice oneself to fully heal the other, only to come back to life anyway.
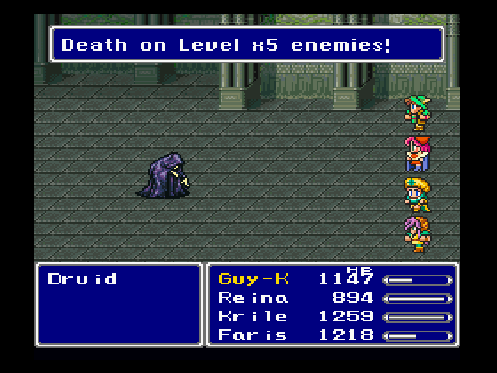
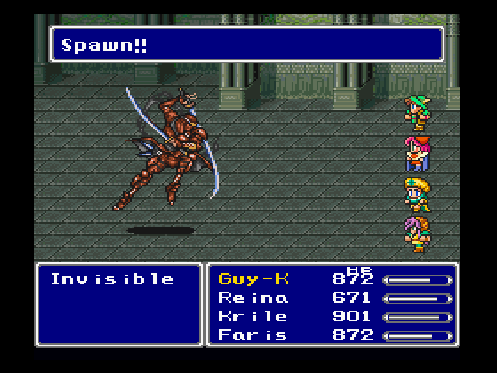
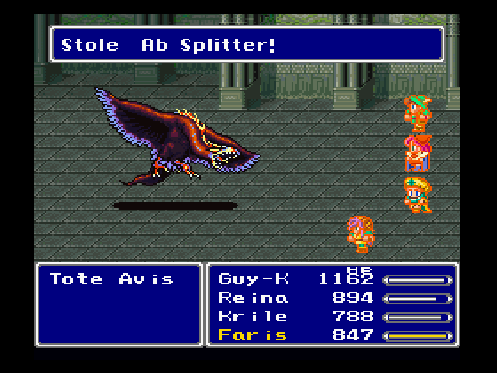
The shrine had numerous threats. One that stood out the most is the Druid, who has Level X spells; Level 5 Doom was especially threatening due to most of my party being Level 35; Reina being behind in levels doesn't seem like a flaw after all. I was thankful to end up getting the Invisible instead of the Pantera; the Pantera has the dread Blaster, while all the Invisible did was throw fire at me and multiply himself. The Tote Avis was more of a nuisance than a threat because of his absurdly high HP (over 30k, which was more than most of the bosses I fought). I also managed to steal a bow called Ab Splitter (REALLY?! At least the Circlet I picked up at the end wasn't called "Socklet," so this translation at least has that going for it ), while not as good as Yoichi's, is still a solid secondary bow.
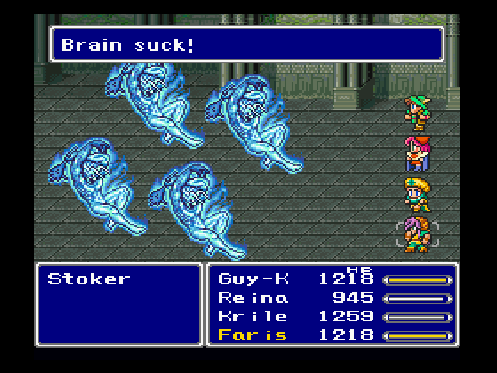
Just as I was ready to take the next Lithograph, another minion of X-Death comes after me: Stoker (REALLY?!?!?!). His gimmick was that only one of him can be damaged, and trying to attack all four at once causes them all to counter with ice attacks. Haste made survival trivial, but killing him as quickly as possible was a matter of luck. After killing him, I got the second Lithograph and freed the barrier in Fork Tower. Whether I challenge Fork Tower or not is optional, as I already have the weapons I need, but I would love to have Meteo, which requires me to go through Fork Tower first.
The Fork Tower is split into two parts: the left tower is strictly magic, while the right is strictly physical power. We must take both the Holy and Flare spells simultaneously or the tower will explode, thankfully not in real time. The dungeon is rather short, but the real challenge: the boss fights.
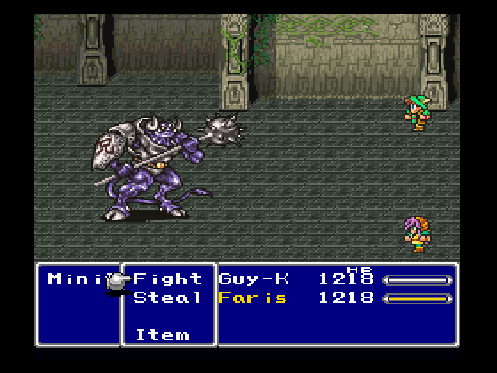
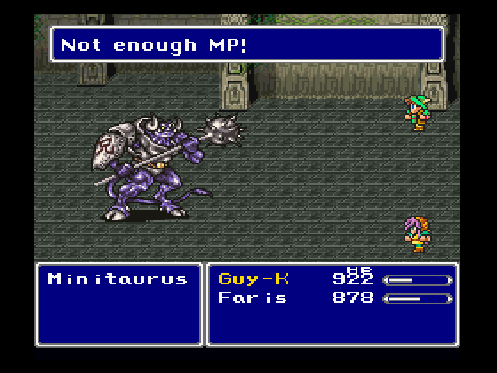
To the right: Minitaurus. Physical attacks and Potions only. Yoichi's Bow and SShot did the vast majority of damage. He had one trick up his sleeve: Holy.
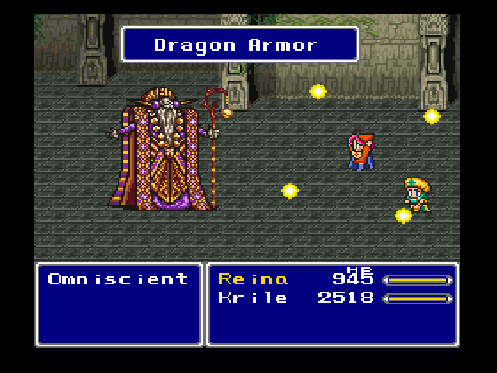
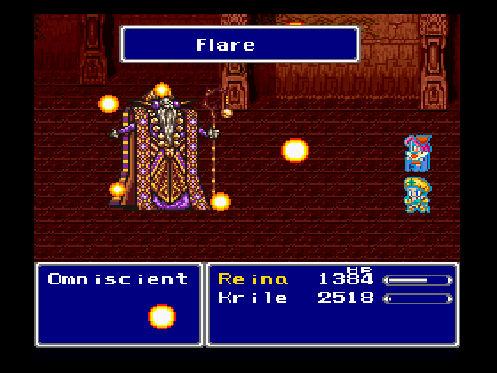
To the left: Omniscient. He uses a vast array of Black and Time magic. Hitting him with physical attacks causes him to reset the battle with the Return spell. For some reason, rod breaking counts as a physical attack, so Reina's the only one who can damage him. Dragon Armor (Dragon Fang + Phoenix Down) is such a Godsend; even after the reflect wears off, the boosted defenses are still useful. Casting Slow and Old on him also crippled his damage potential. Giant Drink (both as a drink and as a fusion of a Dragon Fang and an Elixir) also increased my chances of survival. He also had one trick up his sleeve: Flare, and unlike Minitaurus, he had the MP to back it up.
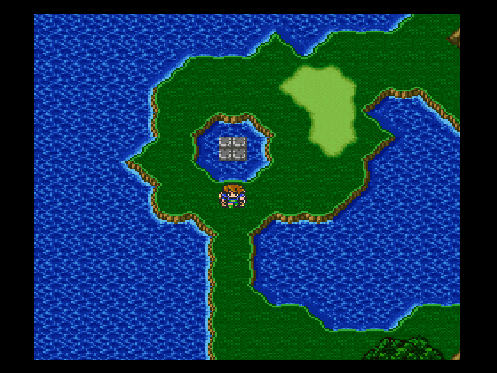
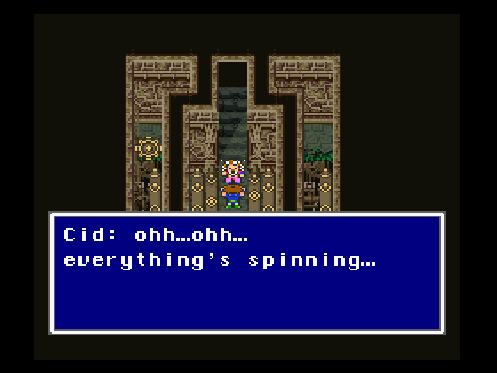
With the Fork Tower gone, we see a familiar door in the sea. Cid and Mid were in the old base, and they worked hard to give the airship submarine properties, allowing me to get the next Lithograph.
TO THE NEXT EPISODE-->