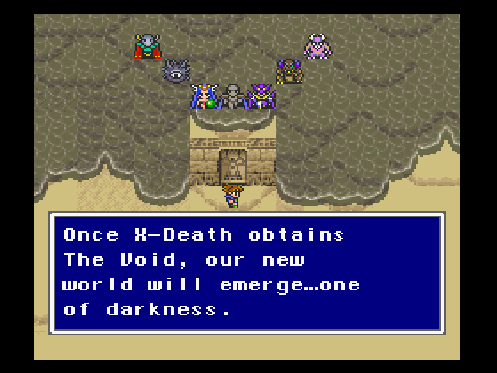
This is it, the final chapter, moment of truth. Will I defeat X-Death once and for all, or will I just be another statistic?

I first find myself in a desert with shifting sands.
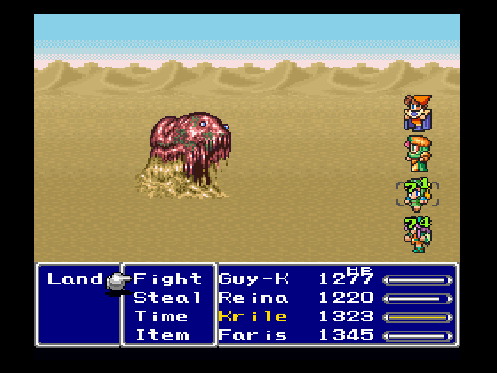
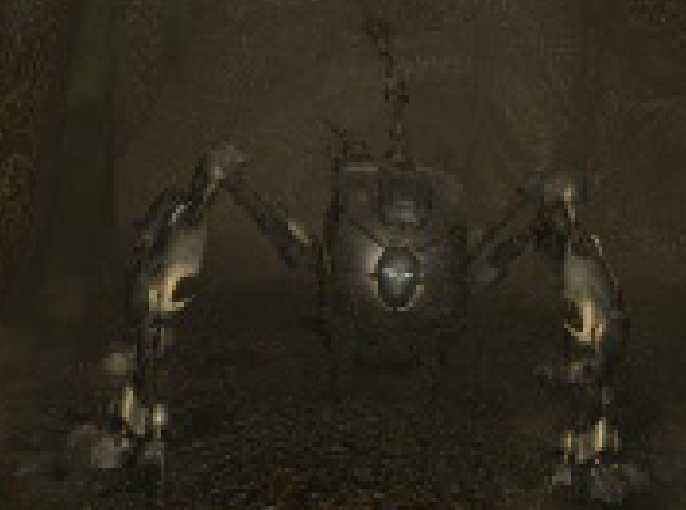
Well we're off to a great start. This fearsome foe is a damage sponge with some lethal attacks, such as Maelstrom (reduces HP to single digits).
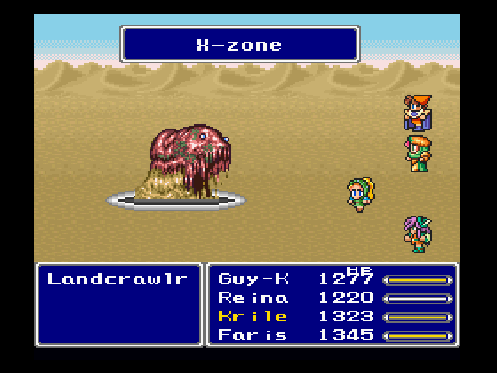
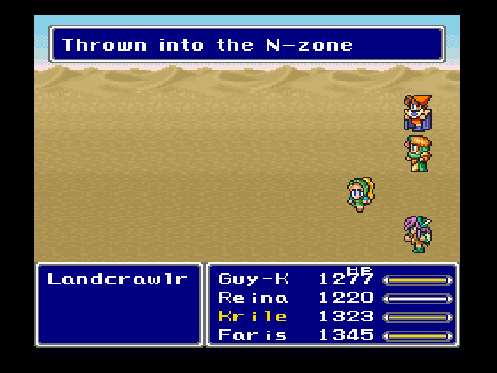
At least he's not immune to instant death, but wait a minute... I just threw him back in this dimension. Did I really win if he's going to keep coming back at me anyway?
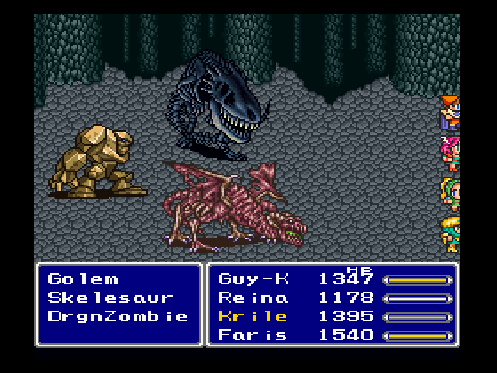
I meet X-Death's elite forces for the first time. I look forward to killing each one of them.
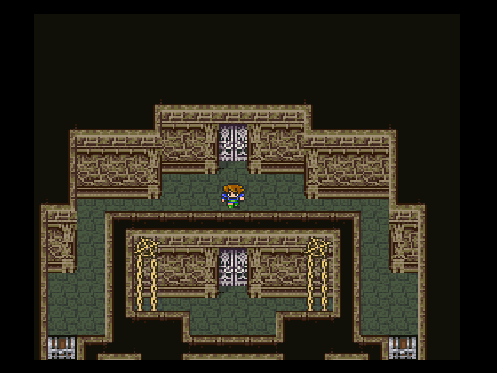
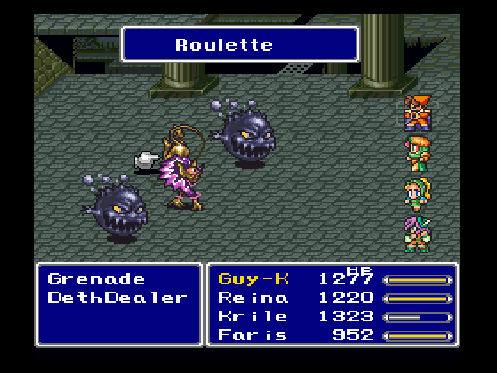
I then find myself in Ronka/Catapult-esque ruins. The DethDealers are a pain because of their Roulette, which kills anyone, friend or foe, at random. I don't feel like risking Phoenix Downs, so running is the best option. The Grenade is also best not dealt with, as being hit by a spell triggers its Explosion.
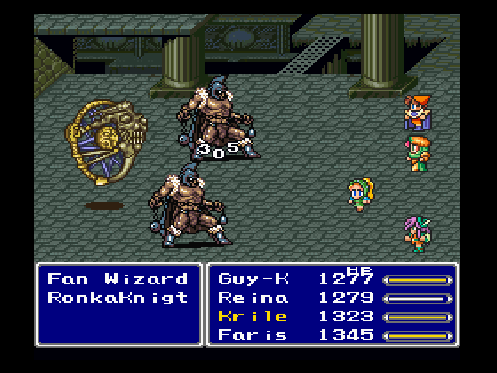
They also gave me these outdated enemies for some reason. I guess it's an easy way to steal Potions in case I run low (although simply Teleporting out would be faster and more practical anyway).
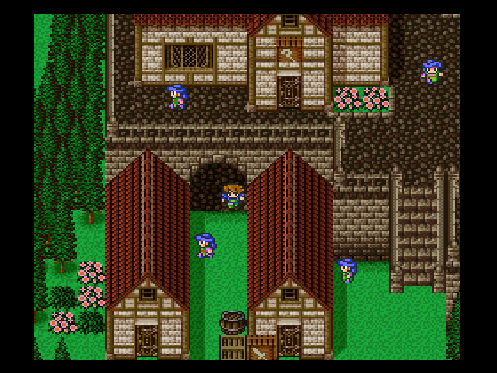
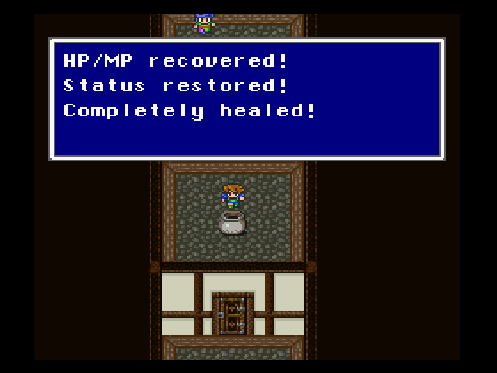
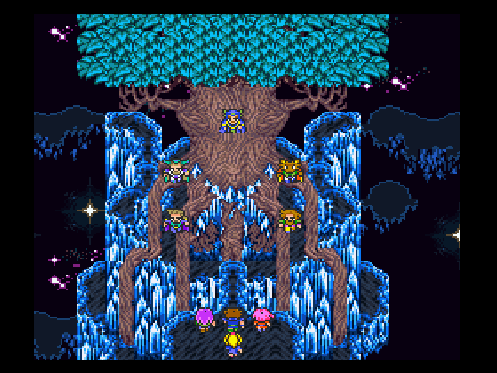
The next area is Mirage... except everyone's frozen in time. All I can do here is heal.
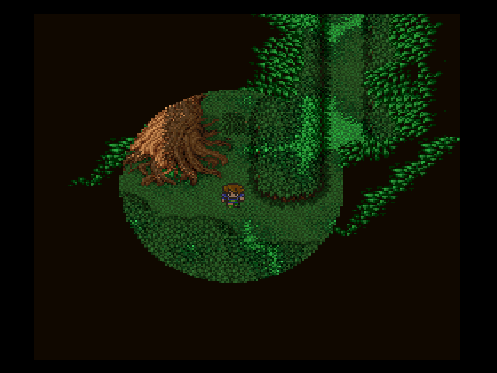
The forest area was annoying to navigate due to the leaves getting in the way of my view. The WoodSprite cast reflect on herself, then bounced spells off herself, including Reflect. Naturally, I took advantage of this by casting Slow and Old on a reflected ally. Much of the battle consisted of filling her with arrows, hoping for critical hits (since she's considered "Magical Beast," Artemis always crits her).
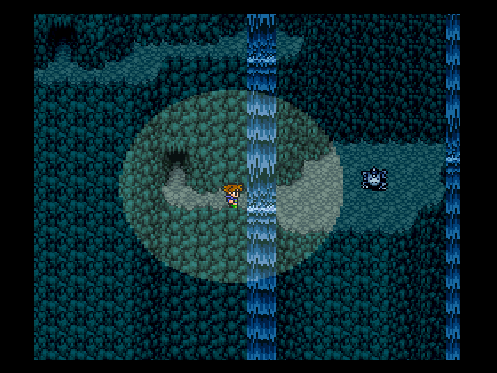
Next is a rather short cave area featuring Omega. He's a dangerous superboss but thankfully easy to avoid.
I also got this encounter again for some reason.
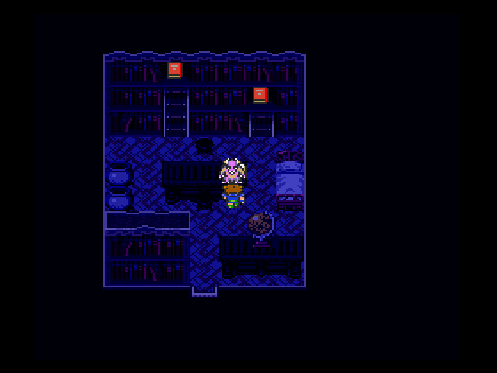
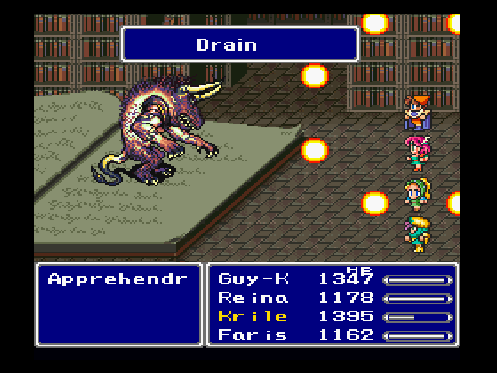
The library area doesn't have much save for the Apprehendr, Byblos' stronger brother. All he did was cast drain and protect, as I used a combination of Meteo, Fire Rod breaking, and Artemis arrows.
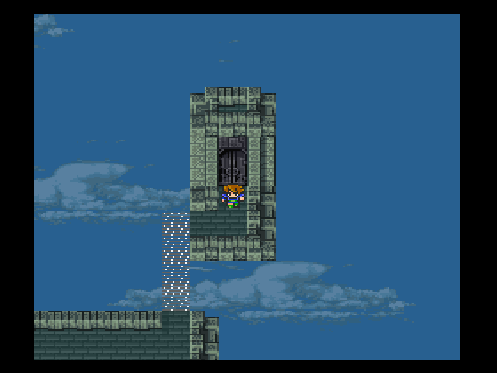
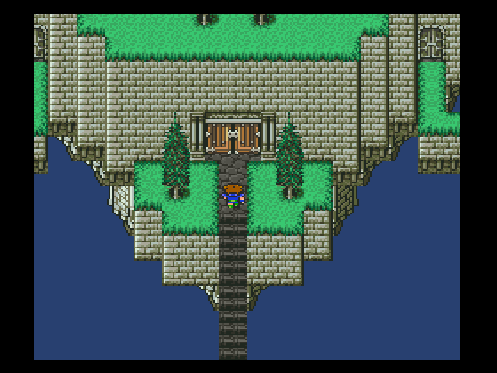
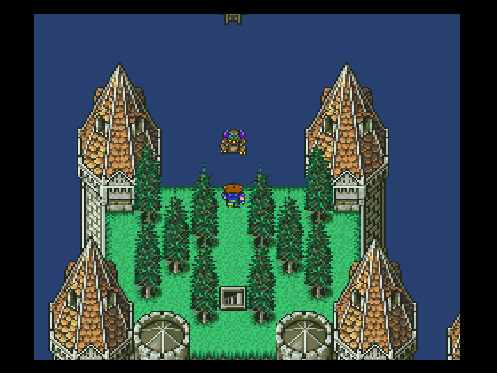
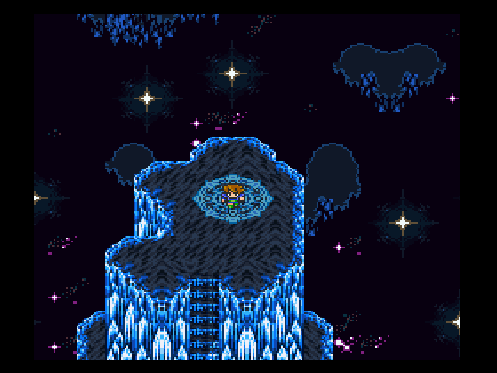
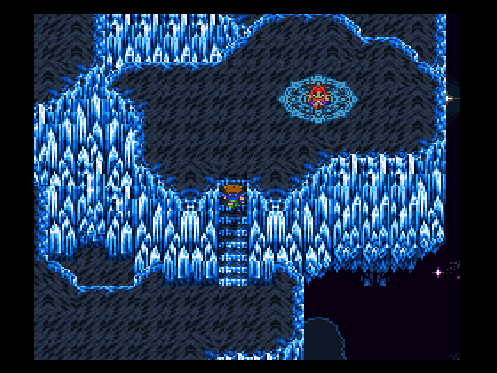
When I came outside, I ended up in a completely different area consisting of floating fortress floors.
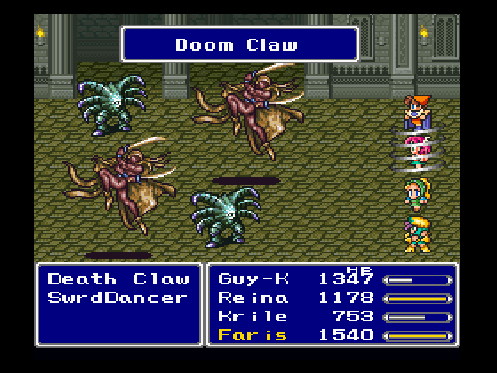
I made my way to the castle. The worst of these monsters are the Death Claws (can paralyze and leave character near-dead), Furies (can instantly kill members) and the Sword Dancers (can randomly zombify characters).
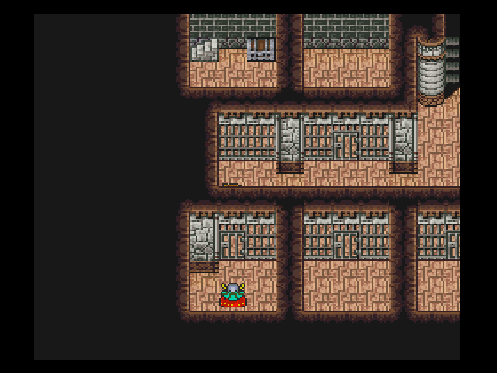
The dungeon area hosts a variety of bosses.

The first of these is Azulmagia. As his name implies, he is a master of Blue Magic and knows at least half of the types in the game. He took a great deal of effort to take down, as some meteors did mere double-digit damage to him. Defeating him yields a much-needed save point that I'll be using plenty.
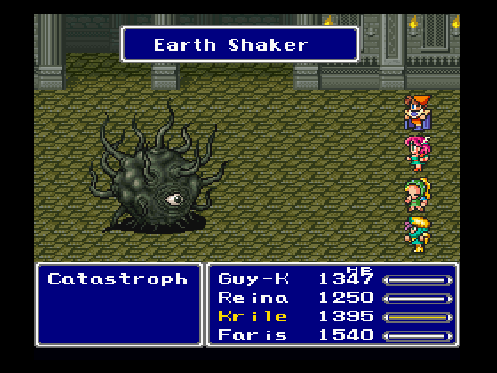
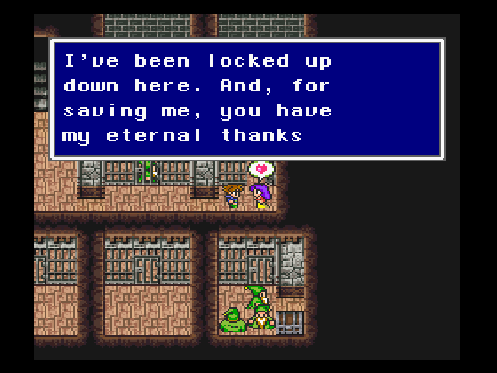
Next up was Catastroph, who broke out of his cell and backed me against a wall. I made the mistake of entering this battle without Float on my party beforehand, but was tough enough to survive the first Earth Shaker. He spent the rest of the fight spamming Gravity 100 to debuff my Floats, but he wasn't fast enough to get another Earth Shaker in to finish me off. He was a pretty easy boss in general. After the battle, the woman trapped inside kisses me and runs off.
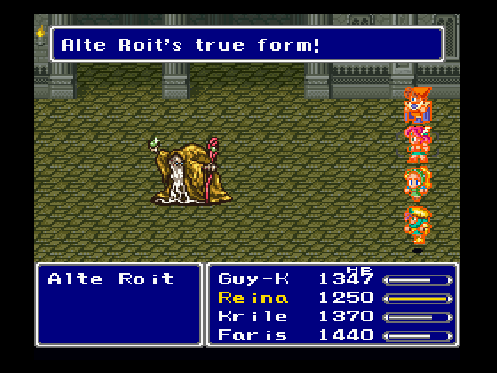

The last of these bosses is the Alte Roit, a group of six relatively weak old men who transform into the JuraAvis. They're not that much harder but can whip out the dreaded Maelstrom on occasion.
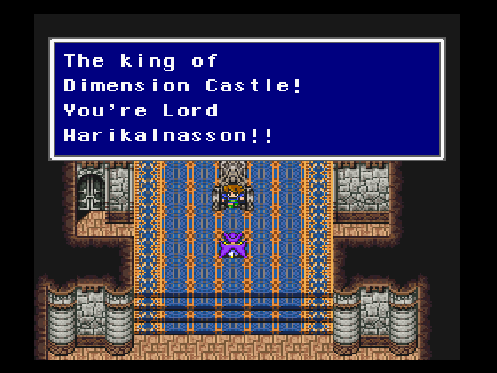
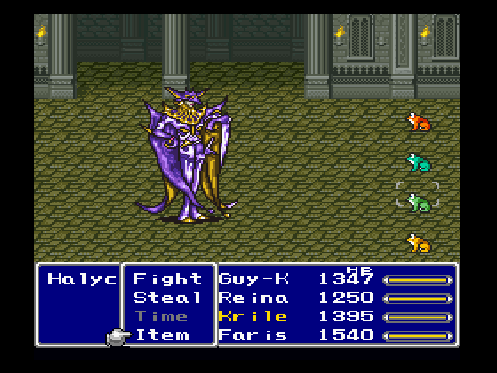
Just when I try to progress, a mysterious power pulls me back and pins me onto the throne. The damsel turns out to be Harikalnasson/Halycanos, master of illusion. The battle begins with the party transformed into frogs, but I happened to have plenty of Maidens Kisses handy. His gimmick is getting progressively stronger as the battle lingers on, but the barrage of arrows and meteors prevented that from even being an issue.
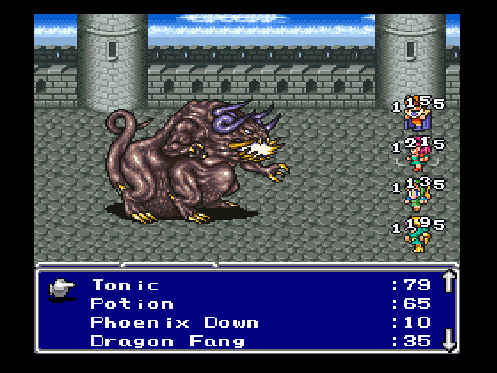
This is the fight I dread the most, other than the final battle itself. Twin Tania has a massive array of powerful party-hitting attacks. I tried smacking him with Meteo, but he nearly killed my party with Mega Flare (had my Chemist not downed a Giant Drink, it would be a Game Over). I somehow pulled through and got lucky enough to revive my whole party and get them back in good health.
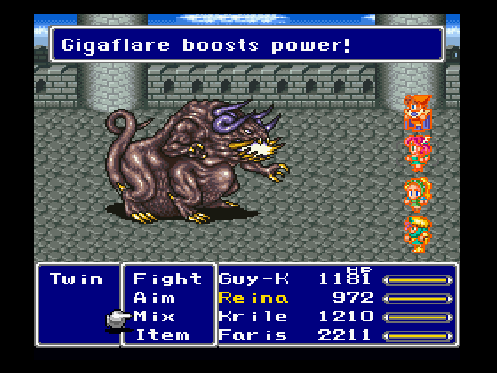
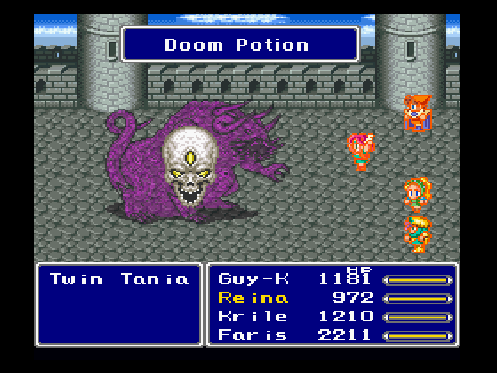
"Gigaflare boosts power!" sounds like bad news, but all it does is open him up to instant death attacks. All it took was one Doom Potion (Phoenix Down + Dark Matter) to drop this beast once and for all. After the battle, I stocked up on Phoenix Downs. I'm going to be needing plenty.
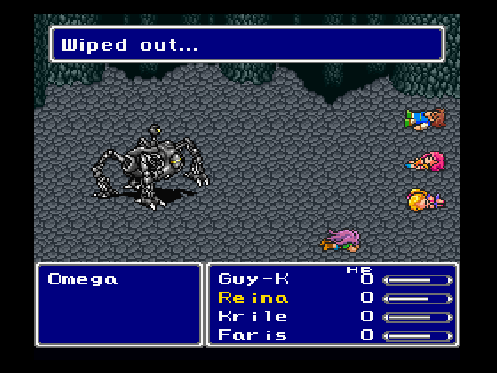
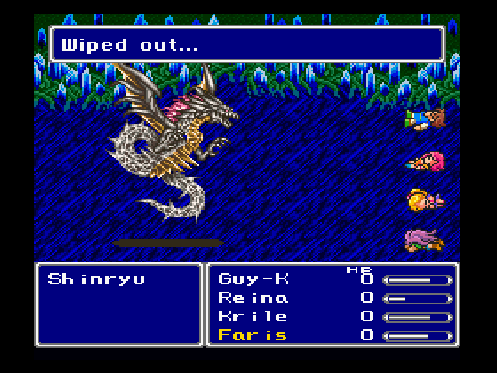
On the way back, I decided to see how well I'd fare against Omega. It went as well as you'd expect. 
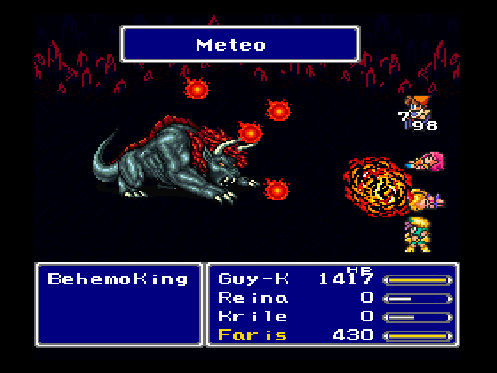
In the final area, I encountered the BehemoKing. Running is the only viable strategy, especially when they're in pairs. I tried using Meteo on one, and it completely annihilated my party with a Meteo of its own. The other monsters are nowhere near as bad and are an excellent source of ABP.
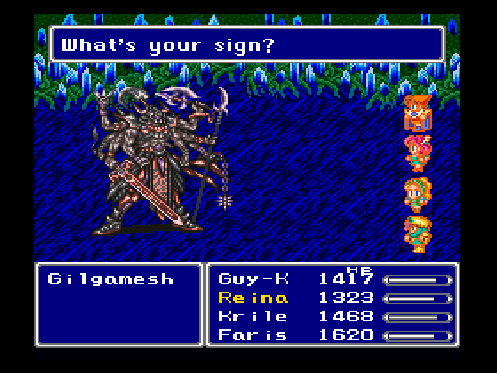
This is where Gilgamesh ended up. All I did was Haste2 and attack (and stole his Genji Shield, which doesn't matter at this point), and all he did was speak nonsense and run away.
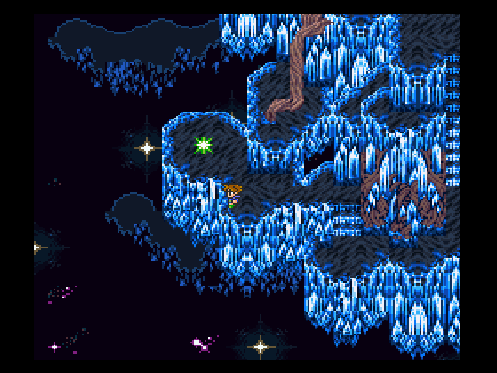
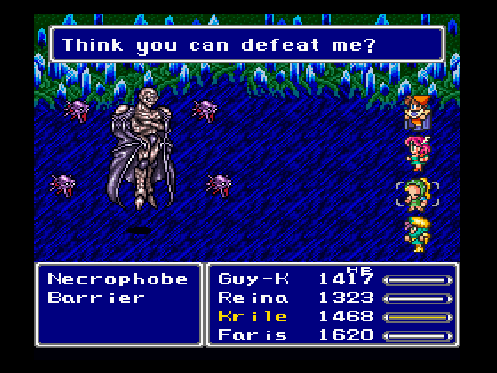
I find a peculiar green light. When I investigate it, Necrophobe, the last of X-Death's minions, attacks me. His first phase involves barriers that make him invincible and bounce powerful spells off themselves. After killing the barriers, his second phase wasn't as bad but still strong enough to kill at least one ally.
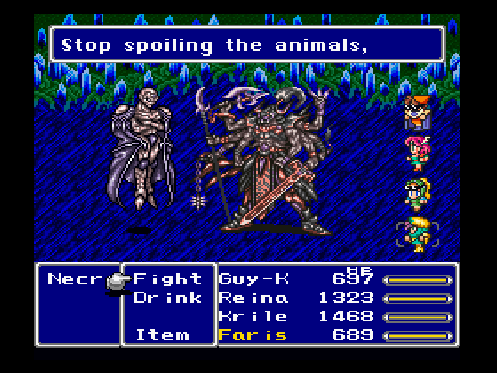
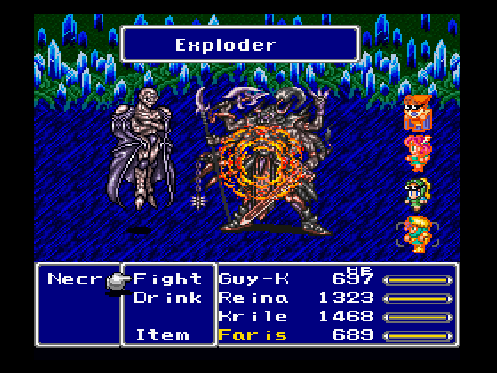
Gilgamesh comes out one last time to help me defeat this foe.
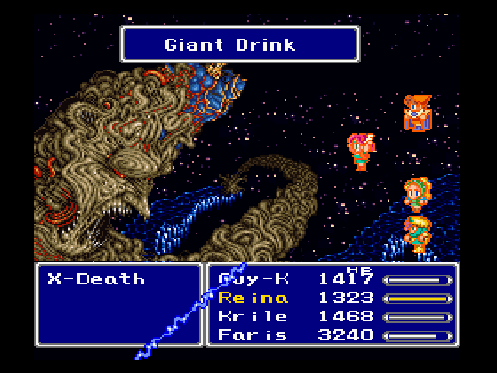
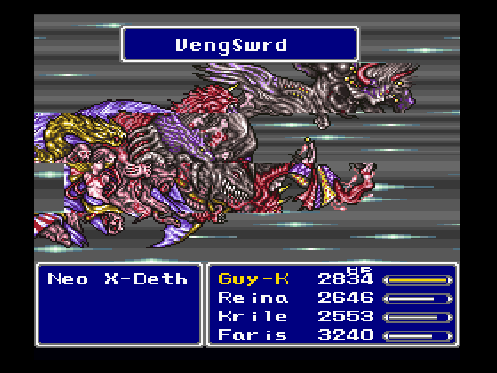
Despite the "now or never" rhetoric, I was still allowed to run back to the save point and save so I won't have to sit through the long cutscene every time. My battle plan was as follows: the usual Haste2 buff/Slow debuff, then Giant Drinks for everyone (both through the Drink command and through mixing a Dragon Fang with Elixir), then Life Shields for everyone (Phoenix Down + Holy Water), then Dragon Armor (Phoenix Down + Dragon Fang), then the usual barrage of arrows and meteors until he enters his second phase: Neo X-Death.

This is the last obstacle. If I fail, everything will be lost... literally. Of course, that particular bad end isn't canon, and I could just load the last save.
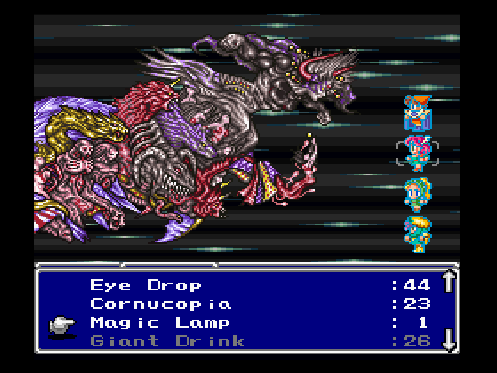
The first order of business: use the Magic Lamp. Granted, I haven't touched the lamp since I first got it, but on the third use, it summons Odin, who can one-shot the back portion, making this fight much quicker. The next step is to eliminate the bottom section, who is classified as a Magic Beast and therefore weak to Artemis rounds. Alternating damage between the last two surviving portions is the best strategy, as if one remains, it will spam Meteo constantly.
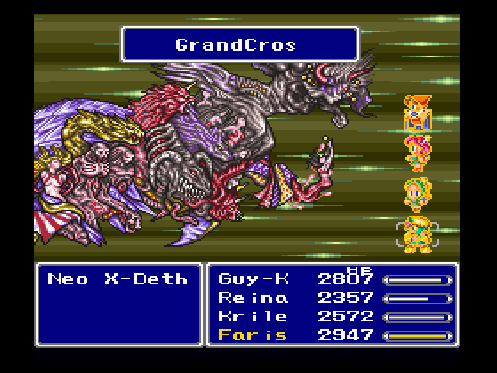
Of all the attacks Neo X-Death has, the worst has to be GrandCros, which gives the party random status ailments. Theoretically, it could give you a Game Over if everyone's petrified and/or zombified. Best case scenario: it simply makes you waste turns healing and rebuffing.
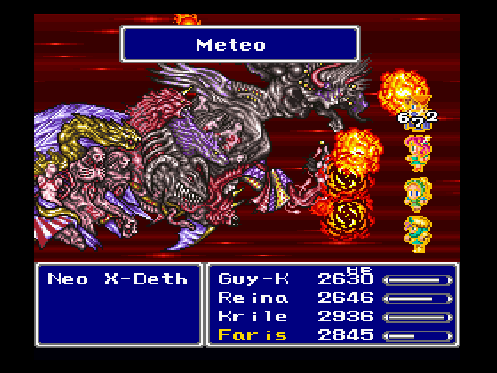
I was down to the wire. One segment remains, and it did nothing but spam Meteo now that it's isolated. Thankfully, it only managed to get one in before I finished it off.
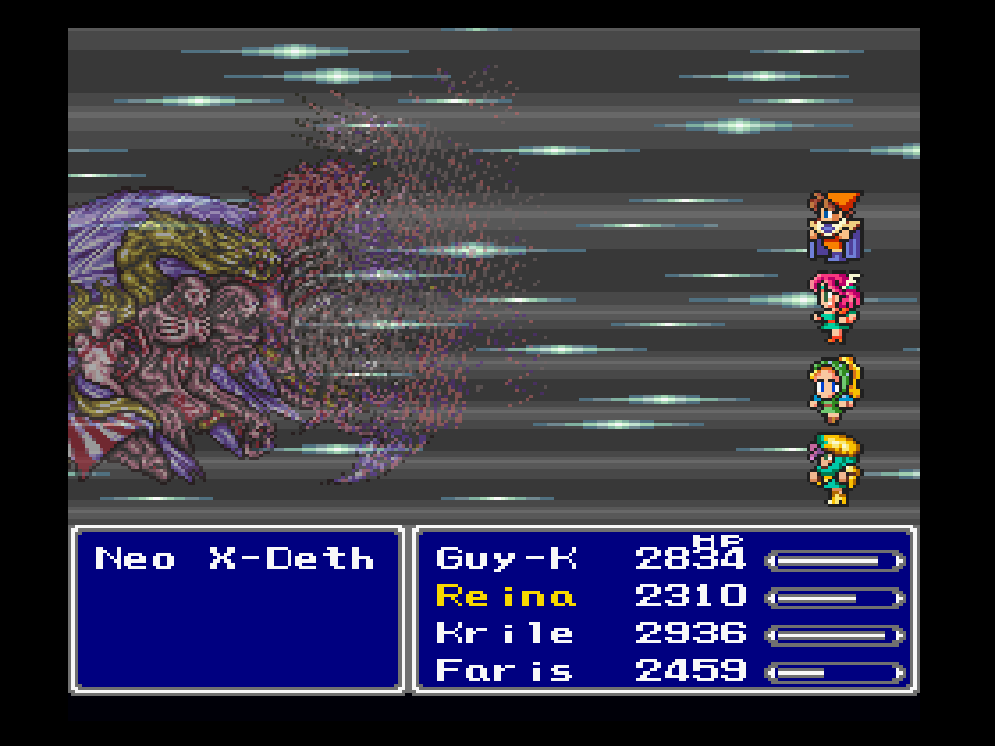

I DID IT! I managed to finish a run, with only one month to spare. This 4JF was a great success. I couldn't have asked for a better party. Sure, it was pretty rough at first (especially Garula), and the physical damage output was lacking until I got some good bows, but the high speed and useful skills more than make up for it.
I asked myself earlier: can I successfully complete a 4JF? The answer was yes. Now I ask myself: can I defeat Omega and Shinryu?